
DIY Garage insulation
Early last year I ordered garage door panel insulation kit from Home Depot to insulate our garage. Our garage has always been cold and fairly damp and our cats sleep out there at night. Around this time we were getting some 16° nights and decided that was too cold for it to be safe for the cats. This kit took a bit of time but was very easy, everything was lightweight, and it worked well! We left a thermometer out overnight once it was done and it made a big difference!
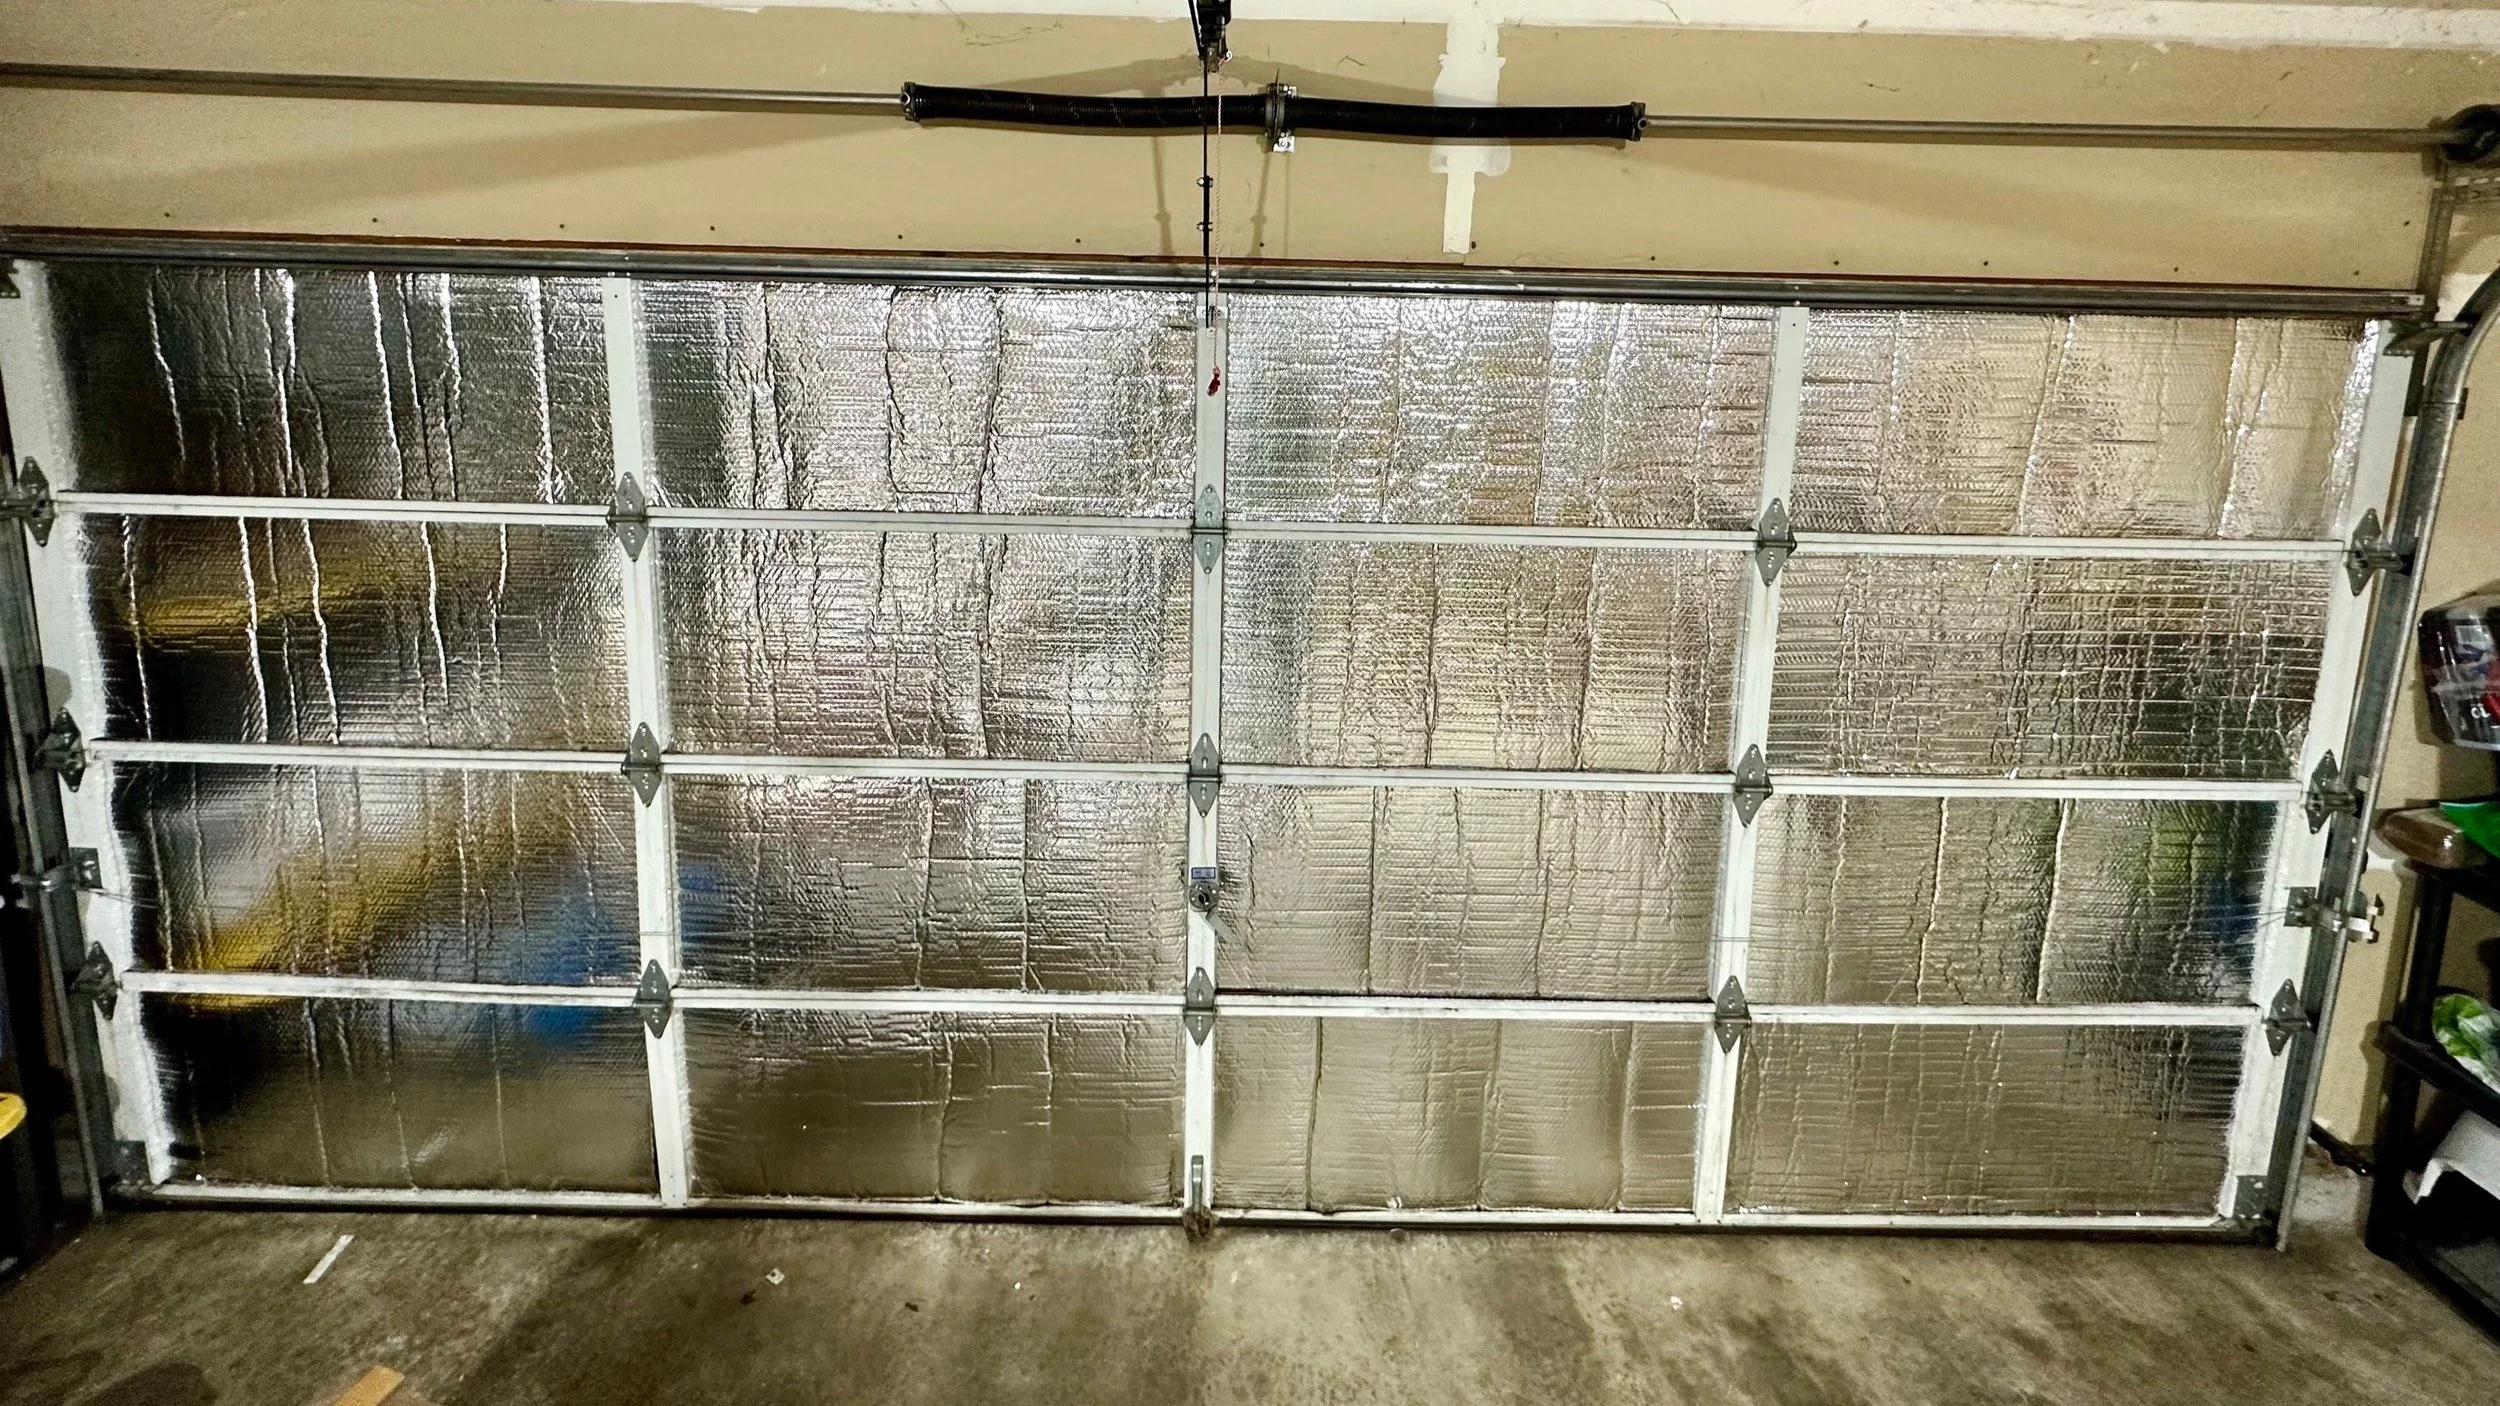
First thing you’re supposed to do is clean the garage door. I did a very basic clean and paid for it later but that’s how I work! I am definitely a get it to the point of it working and then move on to the next project kind of DIY’er. Sorry Corban! Then I measured the panel against the door and cut them one by one. I did this by holding it up against my door panel and then seeing which bubble line it ended on. I cut the foam, measured the width up against the door to make sure it fit, and then did the same thing with the other edge. After double checking that it fit and nicely tucked under the metal pieces on the door (I wanted to cover as much of the door as I could) it was time for tape. There are 2 sided foam tape pieces included in the kit that you peel and stick to the insulation and then the door. Because I didn’t completely clean the garage door I’ve had to go back since and tape the edges on with ducting tape we had leftover from our flood restoration. The panels would randomly start hanging or completely dropping off after a while of opening and closing our garage door. But now that it’s all taped its working perfectly!
I took a video from the start of this project but somehow me/the tripod switched it to slo-mo so it’s unusable. I included some screenshots of the slo-mo so you can visually see the early progress.


