Laundry Room Flood Restoration
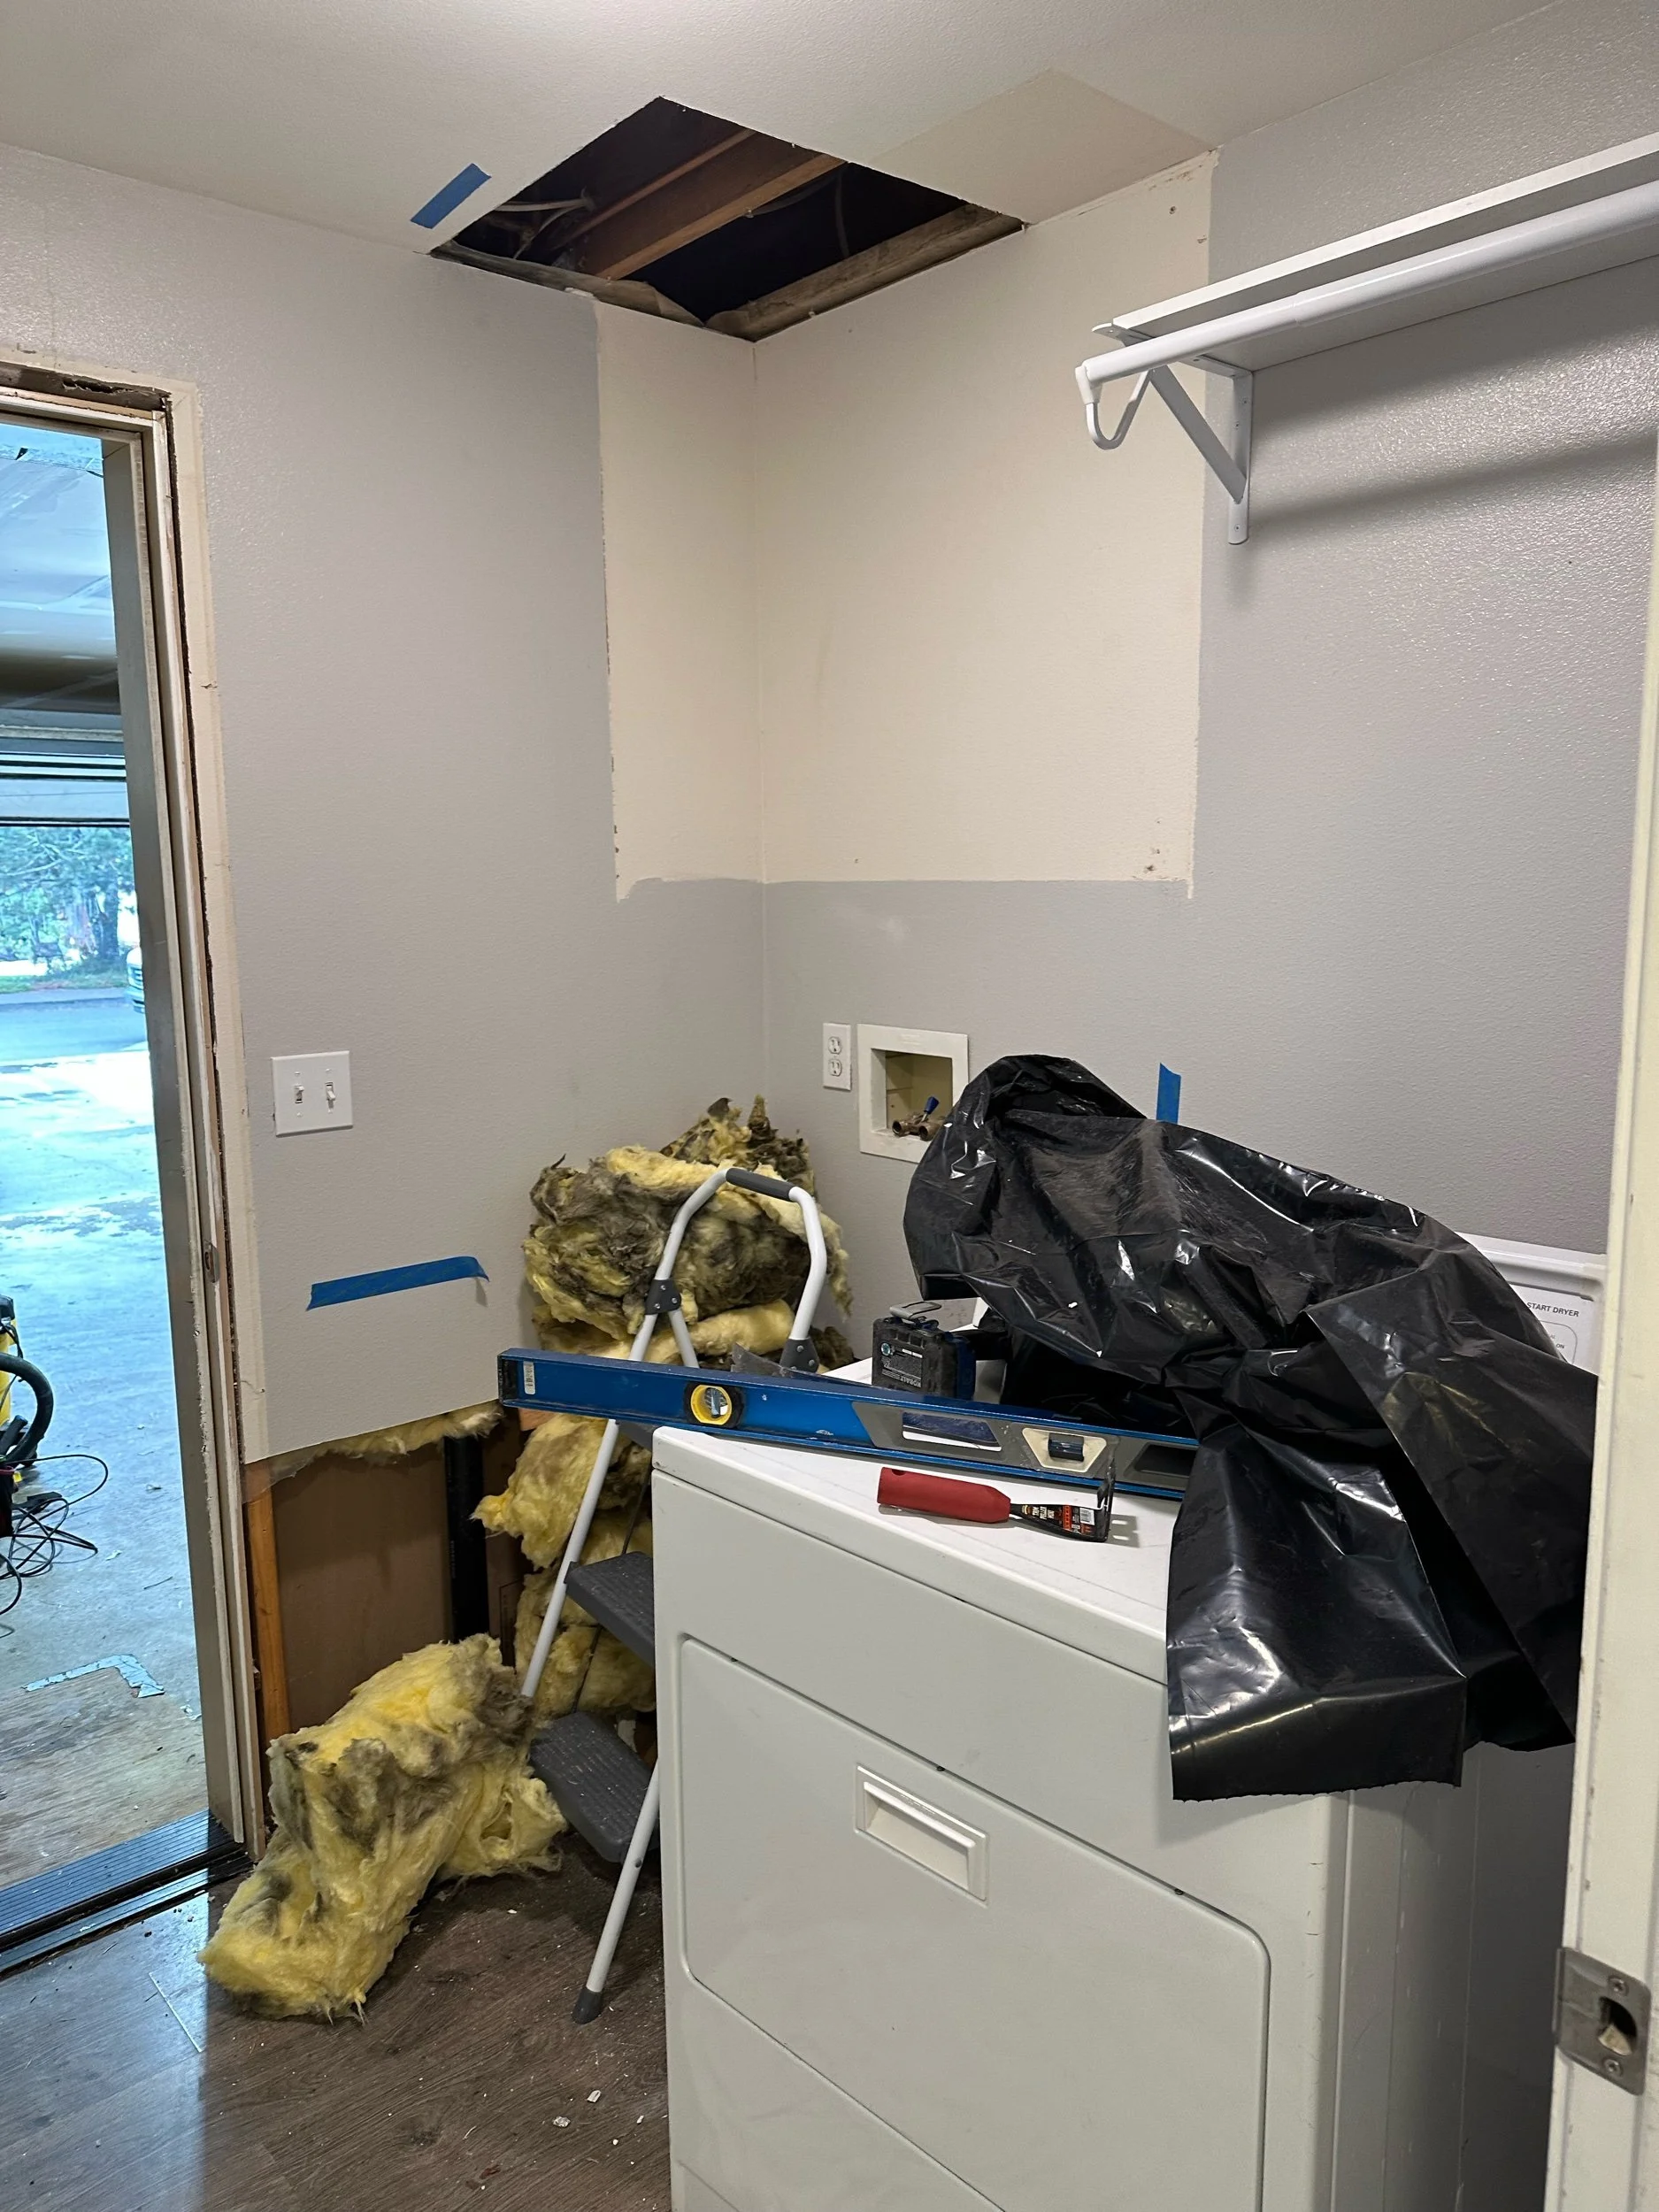
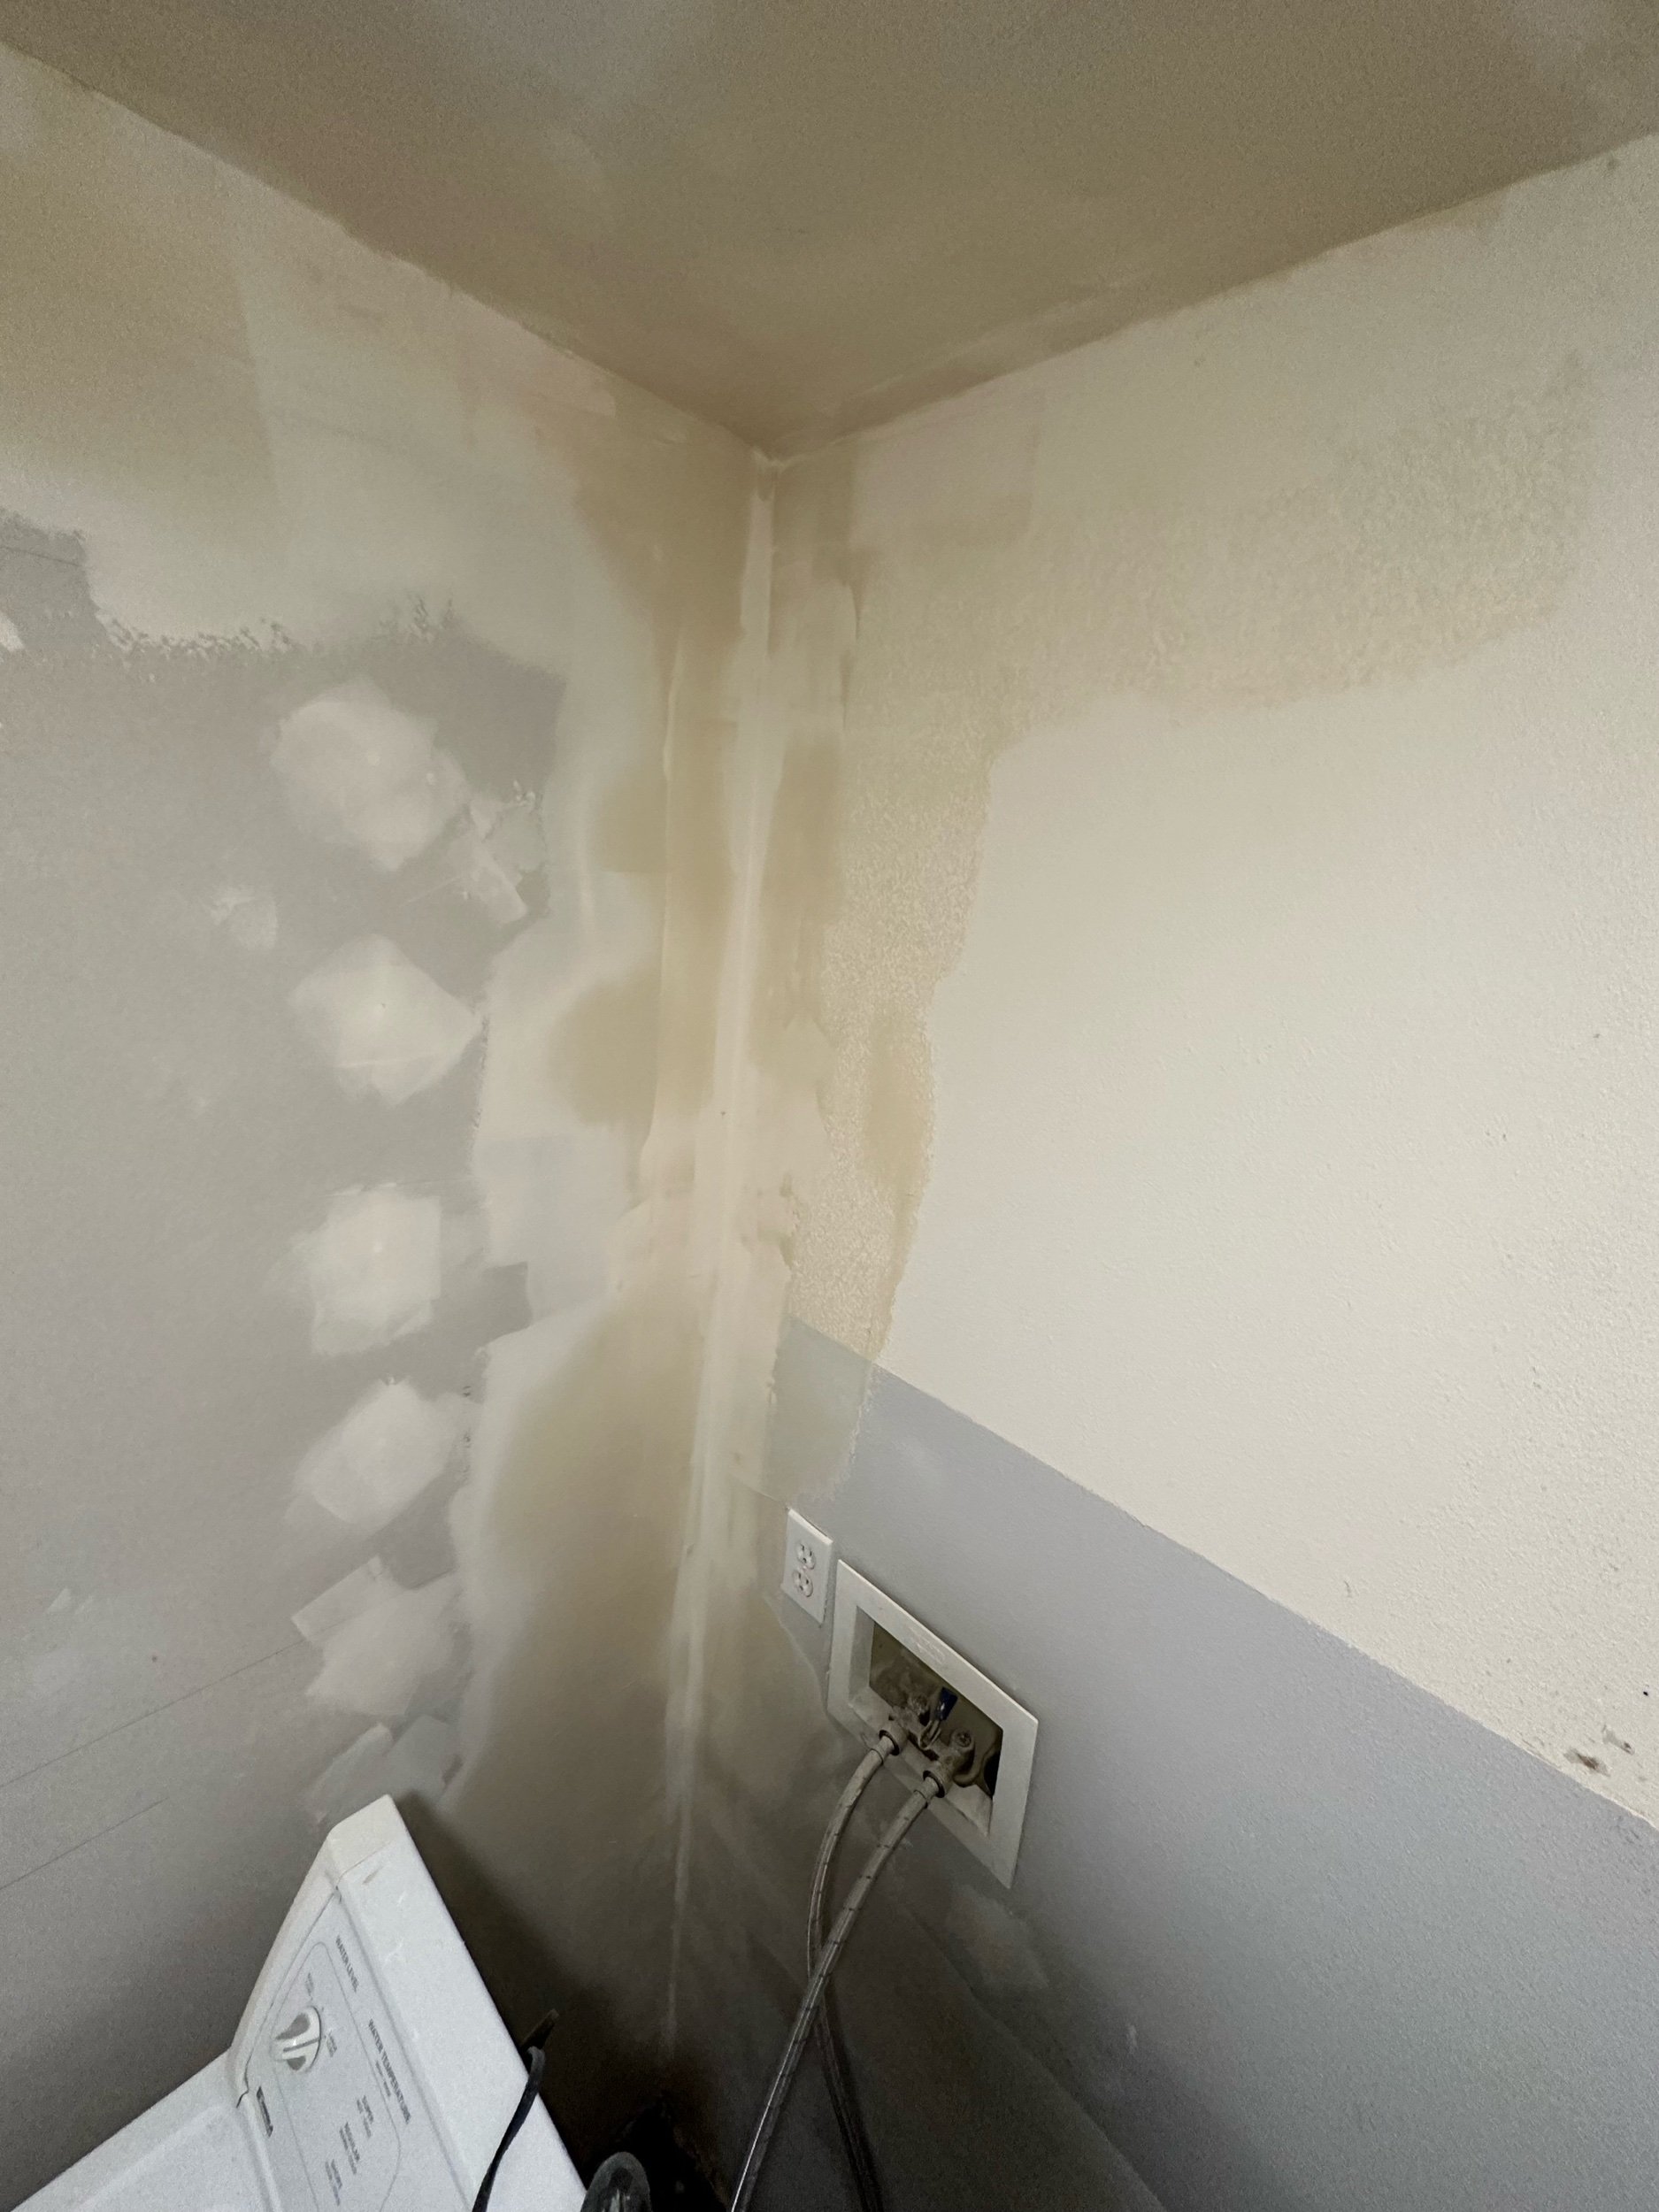
December 4th was a memorable day in the worst kind of way. I had just gotten out of the bath and my husband had just gotten off the indoor bike trainer from a workout in the garage. He was about to walk into the laundry room and above his head noticed the insulation around the furnace ducting looked different, he touched it and it was super heavy. Turns out our daughter had overfilled the tub a bit, nothing on the floor but enough for water to come through the drain. Normally this is no issue but the 25 year old seal failed and the water went through the ceiling and soaked our insulation, drywall, flooring and pulled all the way into our master closet. Thankfully a neighbor friend of ours owns a flood restoration company so I called him and he told me what to do that night and him and his crew came the next morning. They did all of the flood remediation and took out all of the affected drywall, insulation, and carpet pad. Once it was all dried out and ready to repair we took over.
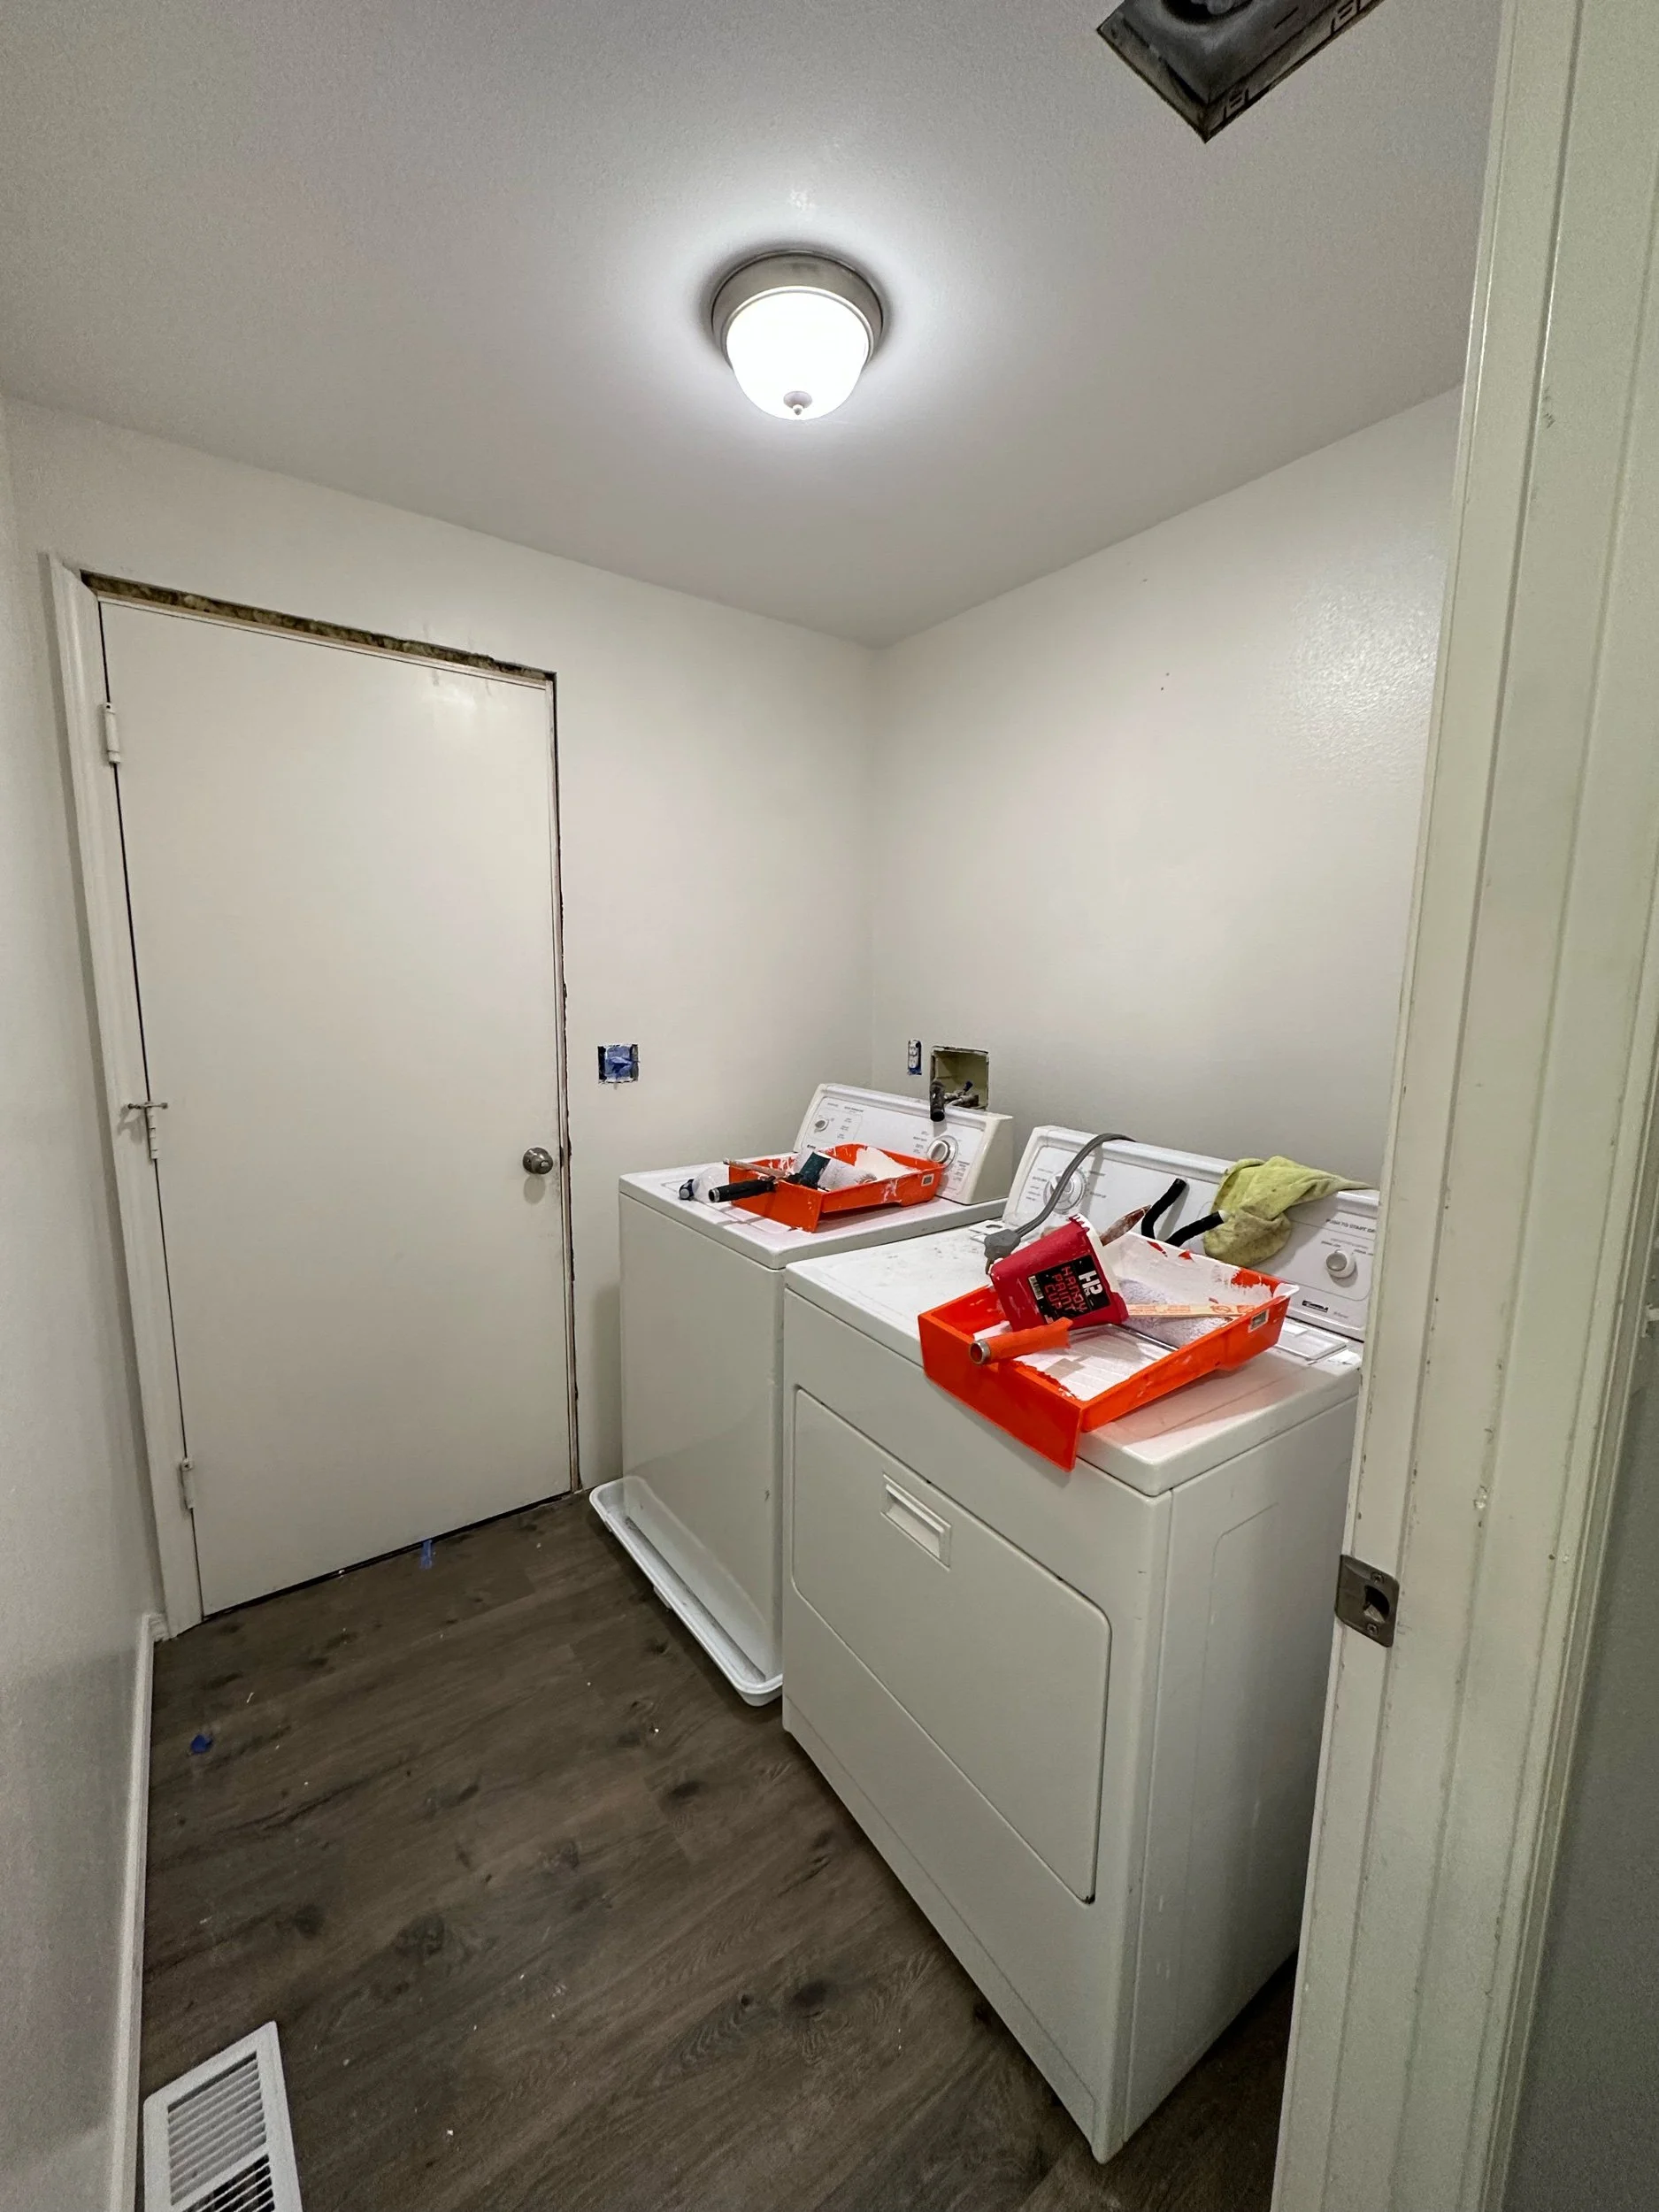
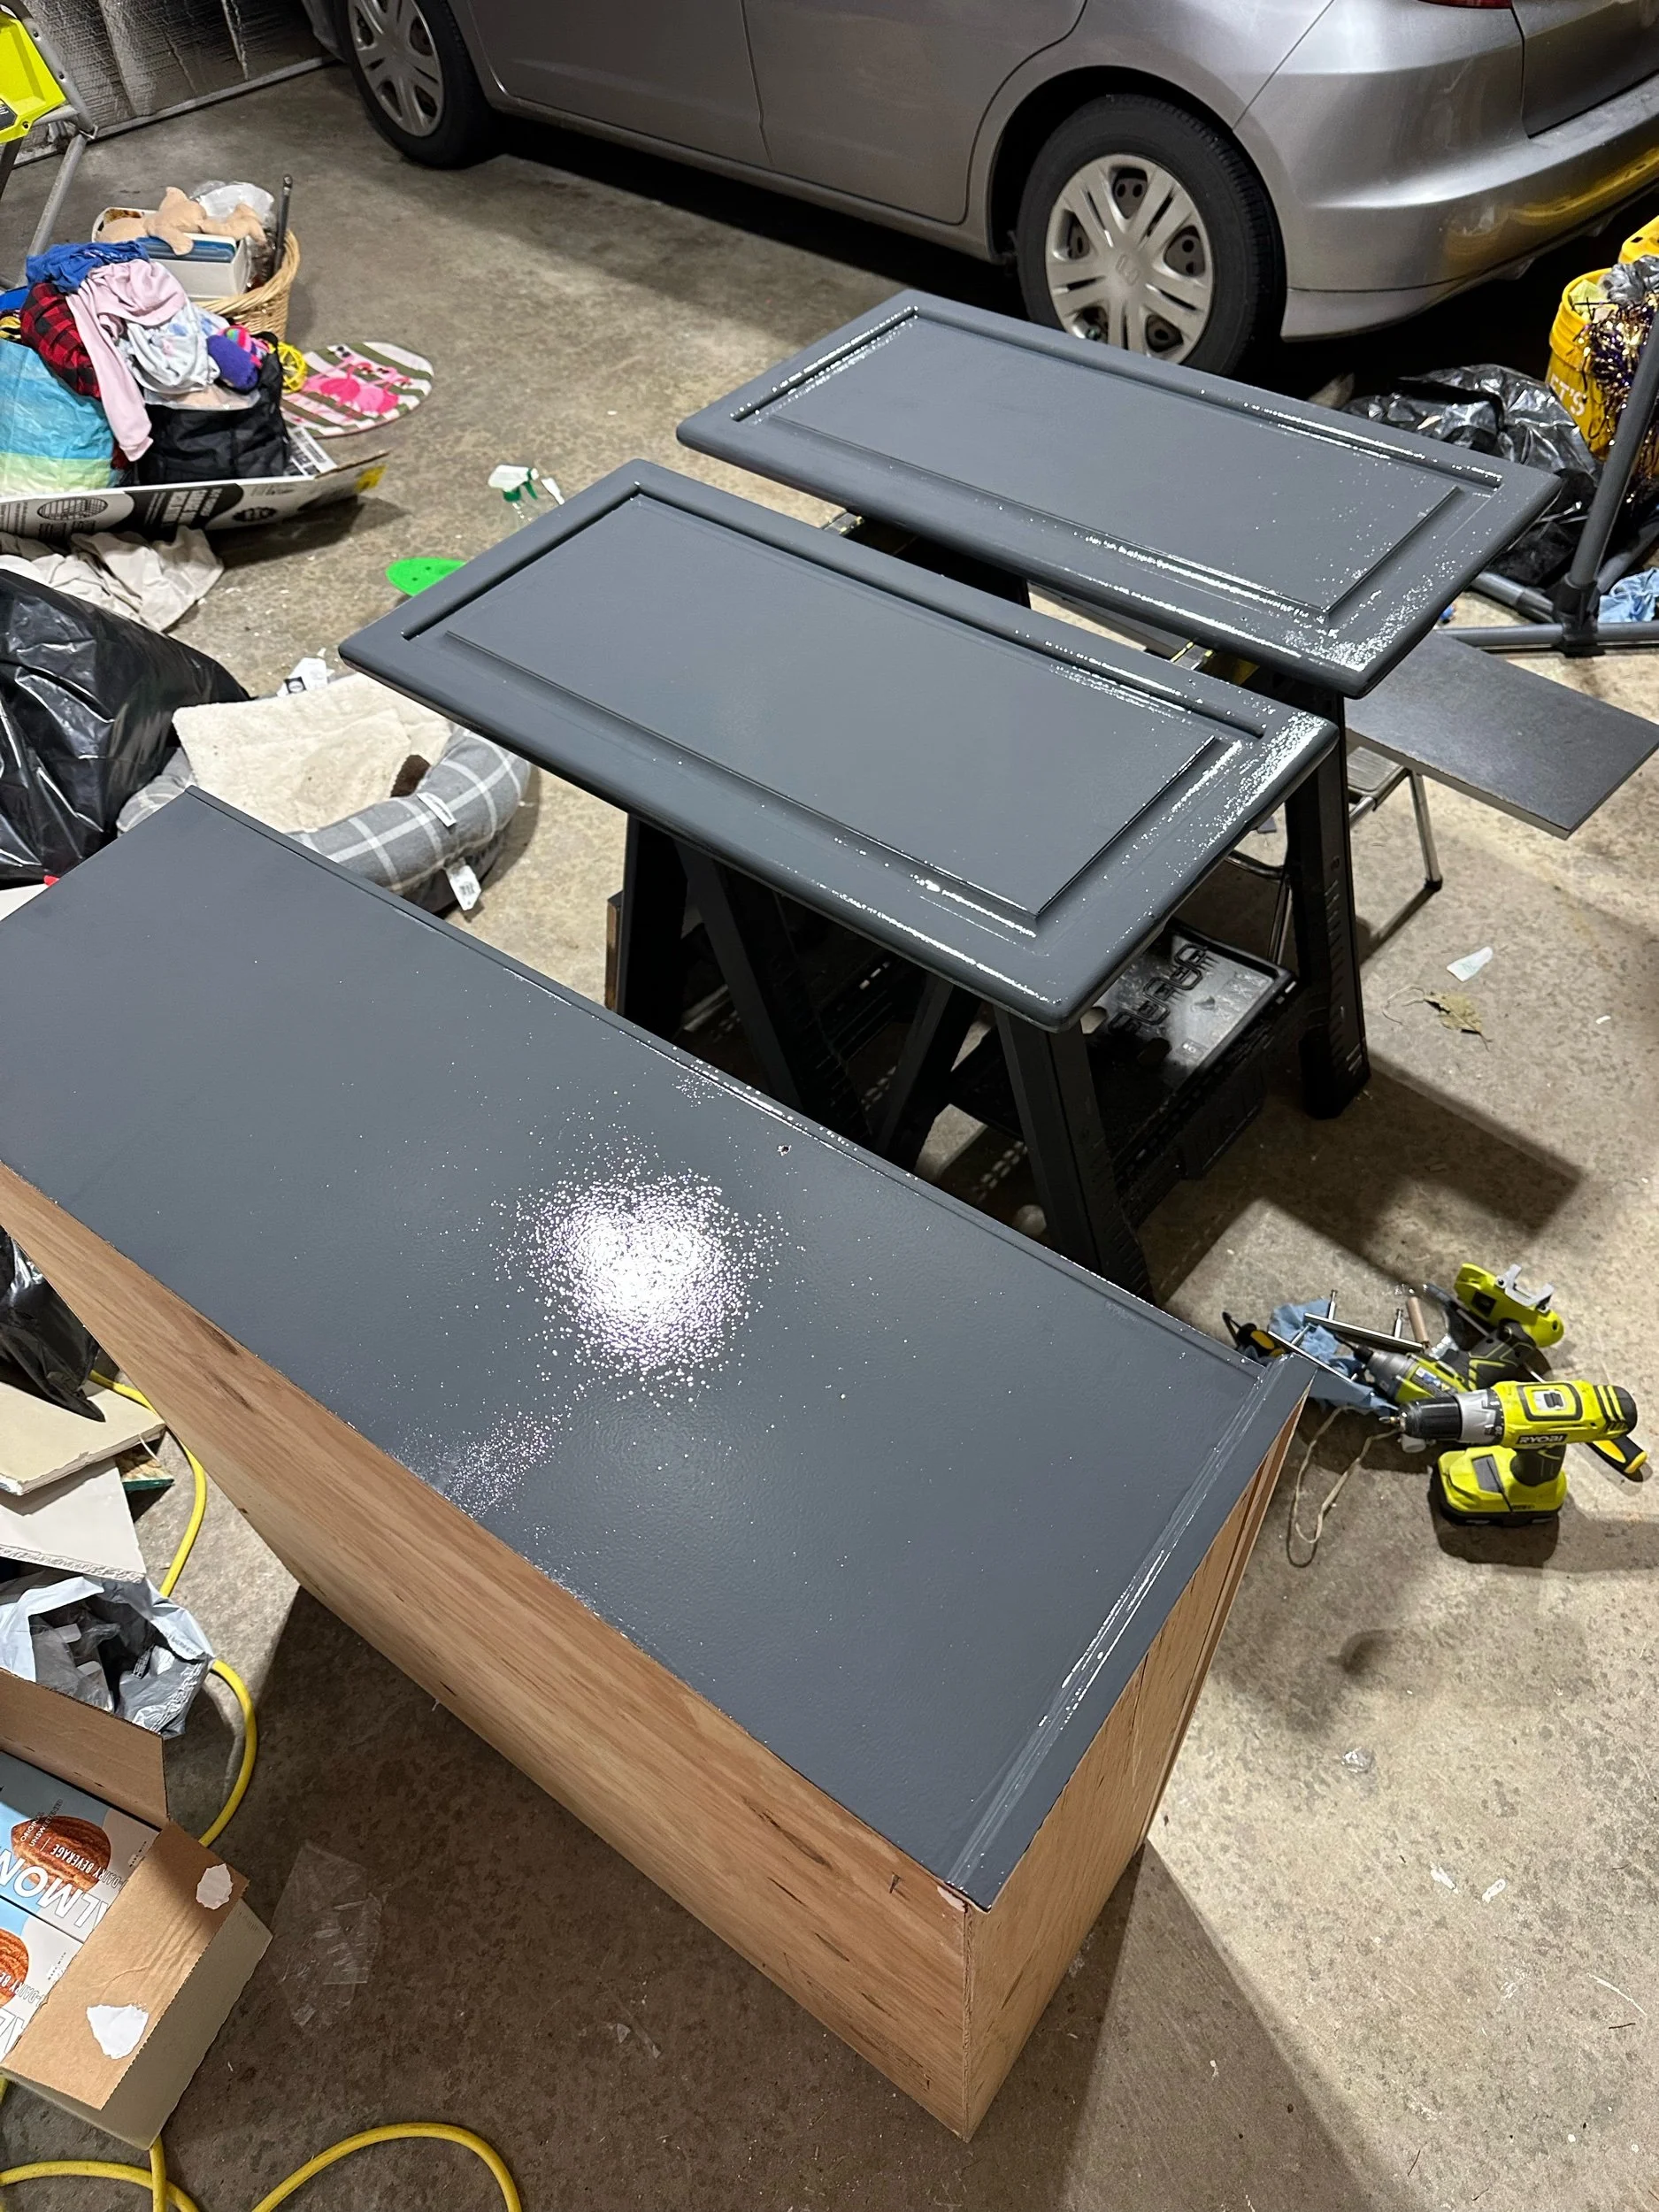
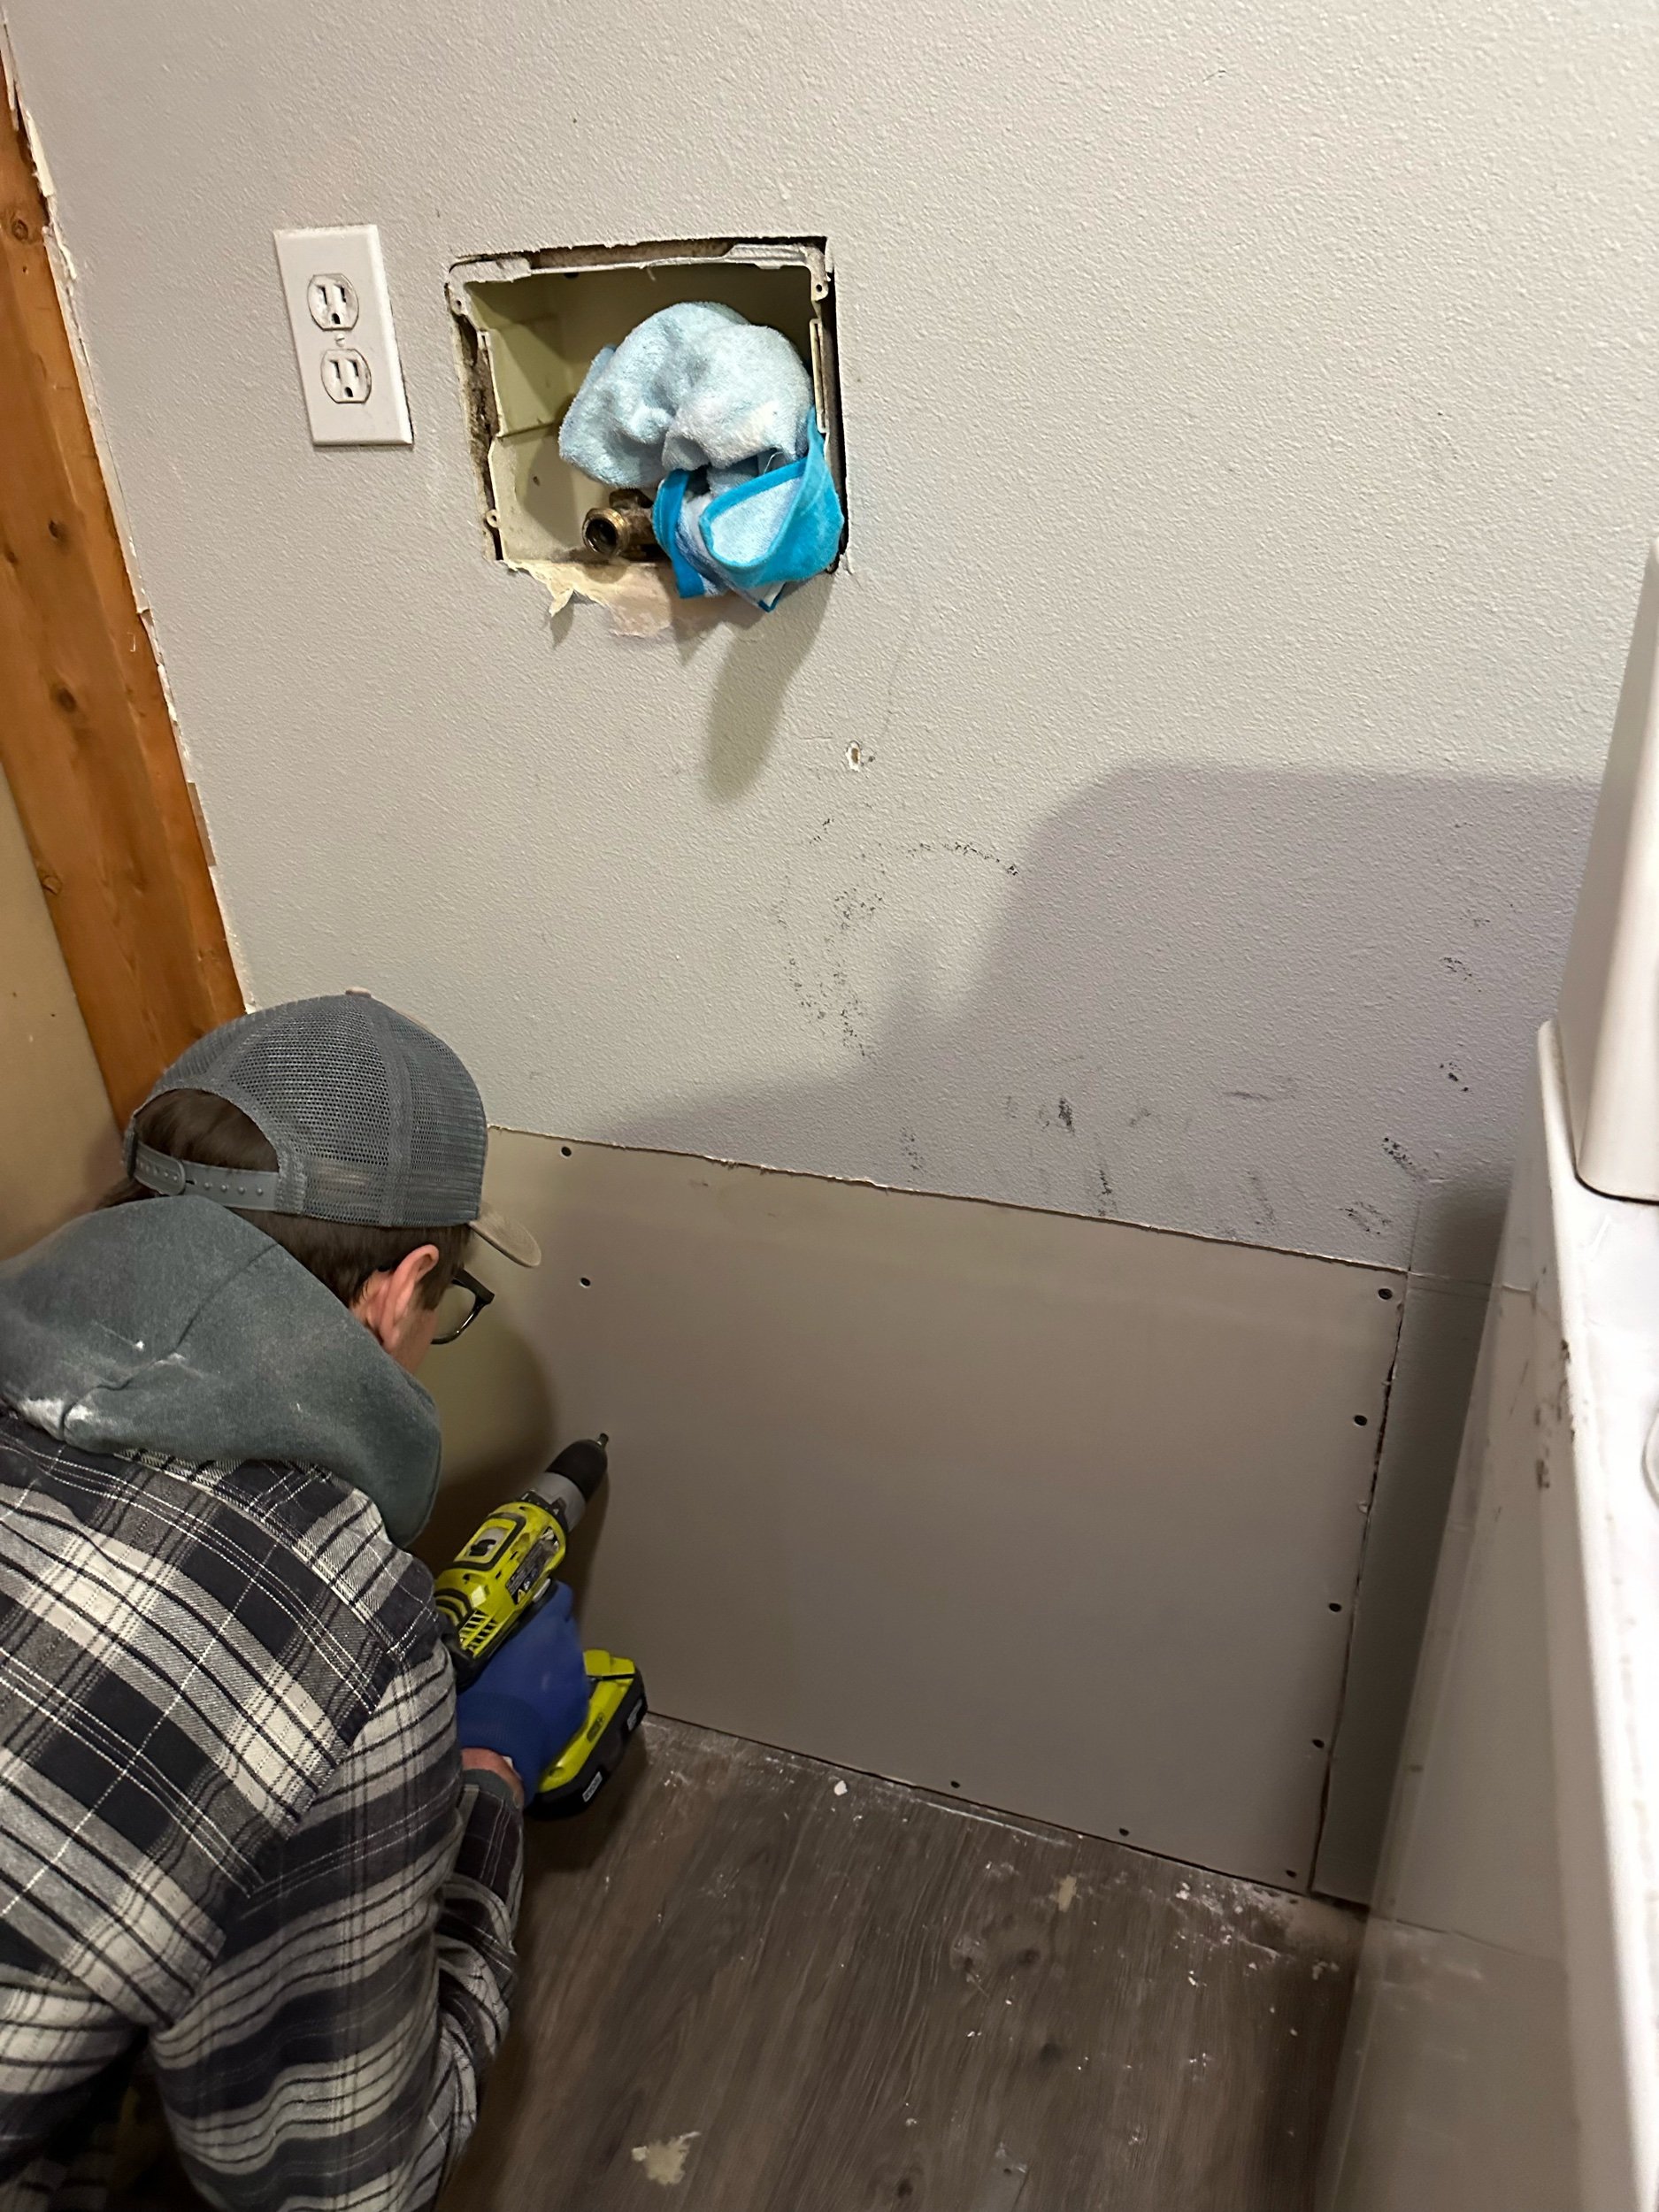
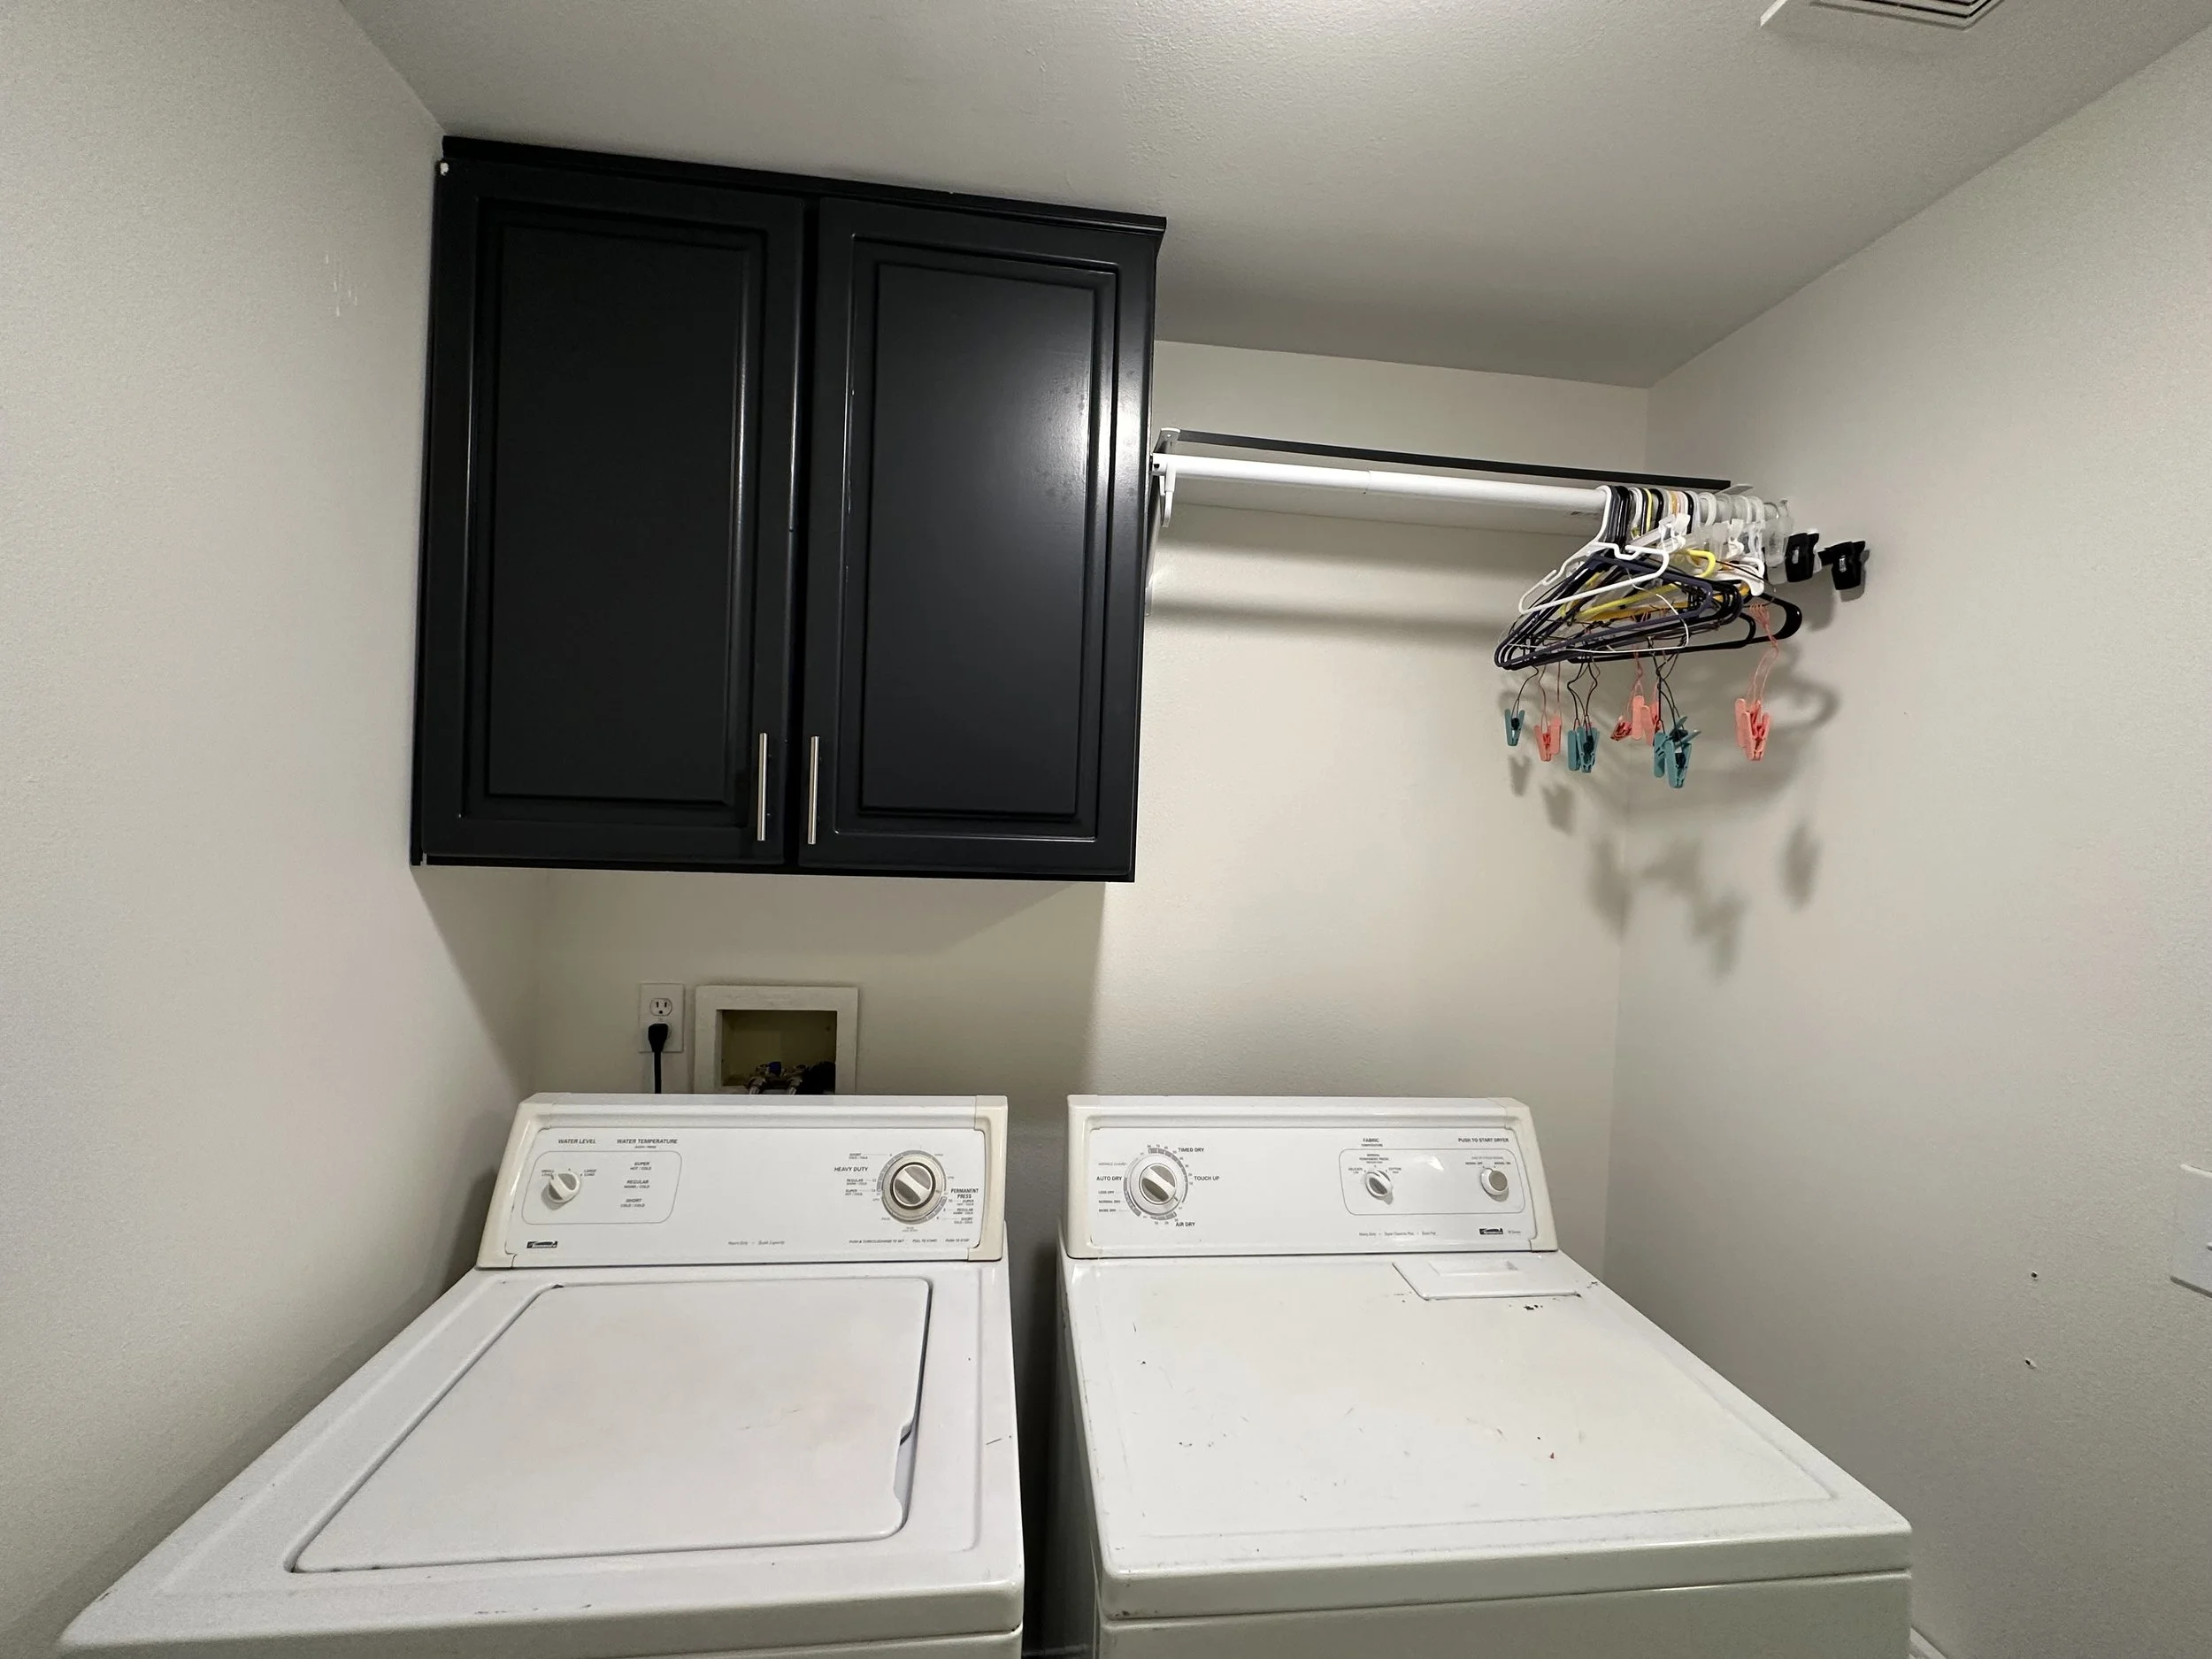
With the money we got from insurance, doing the work ourselves meant we actually came out ahead. Thankfully we had help from an experienced family friend last year building our office and we still remembered enough drywall/mudding/taping/texturing to do this ourselves. After we got the drywall hung I took over. It took a few weeks because of the holidays, family trips, etc to get it finished but it’s finally done! Eventually we will put new trim and paint the doors the same color as the cabinet but for now it’s put back together and I love the changes I made. I took this opportunity to make the laundry room white like our house will eventually be, it’s just missing a rug.
We also learned how to wrap a furnace in insulation, another skill on the list of things I never wanted to learn how to do. I’ll add that along with fixing a washing machine, dishwasher, and refrigerator. Back to the furnace insulation, it was easy overall but just annoying and the tape is so weird to work with. This whole process was slow moving waiting for walls to dry, mud to dry x3 and then sanding, paint to dry on the walls, cabinet paint to dry and cure, and so many other tedious steps. Slow moving is not my cup of tea, which is why in the middle of this we also did the kitchen cabinet/shelf changes because I needed a little demo and something we could finish quickly and be a meaningful change that didn’t drag on.
If you made it this far, thank you! Here are pictures of the process and what our laundry room looks like now!